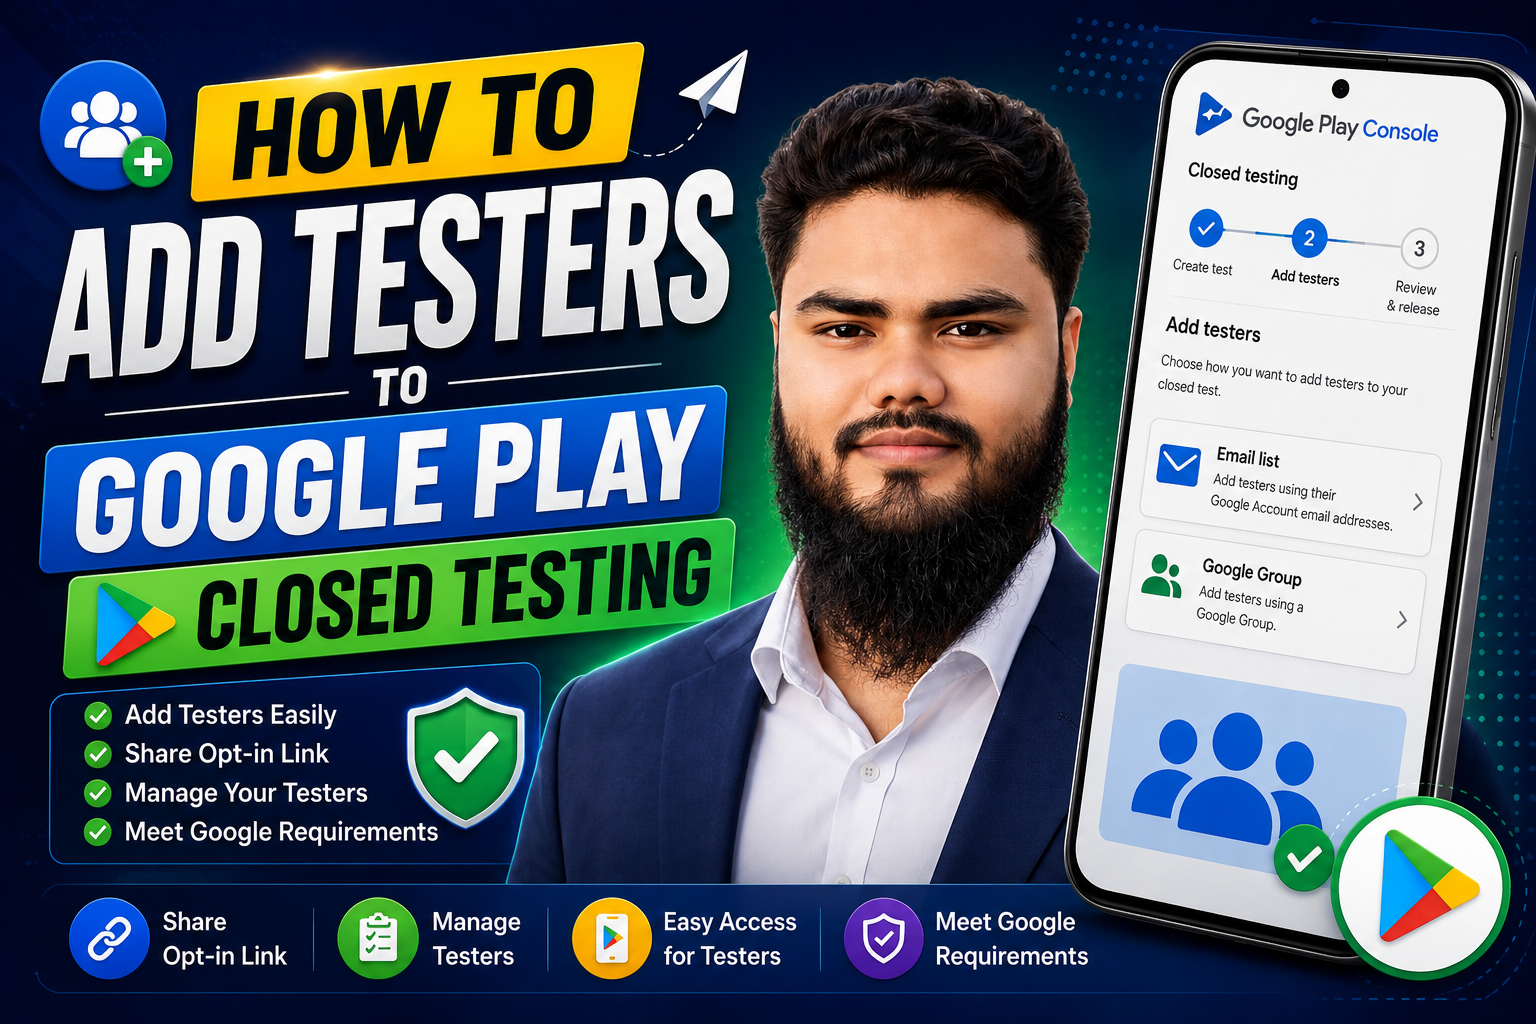
How to Add Testers to Google Play Closed Testing
If you are preparing an Android app for Google Play closed testing, one of the first things you need to do is add your testers correctly.
Google Play allows developers to manage closed-test participants using email lists or Google Groups. After the test is configured and published, testers can join the test through the appropriate opt-in process and access the testing version of the app.
In this guide, we will explain how to add testers to Google Play closed testing, how to share the testing link, and what testers need to do before they can install the app.
What Is a Google Play Closed Test?
A closed test allows you to distribute a pre-release version of your Android app to a controlled group of testers.
Unlike an open test, the app is not generally available to everyone on Google Play. Only users included in your selected tester group can access the closed test.
Closed testing is useful for finding bugs, collecting feedback, testing important features, and improving the app before production.
For applicable new personal developer accounts, Google currently requires at least 12 testers to be continuously opted in for 14 days before the developer can apply for production access.
How Can You Add Testers to a Closed Test?
Google Play provides two main ways to manage testers for a closed test:
- Email lists
- Google Groups
Both methods can be useful depending on how you organize your testing community.
Method 1: Add Testers Using an Email List
An email list is one of the simplest ways to manage individual testers.
You can create a list of Google Account email addresses and assign that list to your closed testing track.
Step 1: Open Google Play Console
Sign in to your Google Play Console account and select the Android app you want to test.
Then go to:
Test and release → Testing → Closed testing
Step 2: Open Your Closed Testing Track
Select the closed testing track you want to use.
If you have not created a closed testing track yet, create one and complete the required setup.
Step 3: Open the Testers Tab
Inside the closed testing track, select the Testers tab.
This is where you can configure the users who will have access to your test.
Step 4: Choose Email as the Tester Method
Under the tester access options, select Email.
You can then select an existing tester list or create a new email list.
Step 5: Create an Email List
Give your tester list a recognizable name.
For example:
Android Closed Testers
or
App Beta Testers
Add the Google Account email addresses of the people who will participate in your test.
Google Play also allows you to enter email addresses directly or upload a CSV file.
If you use a CSV file, organize the tester email addresses according to the format requested by Google Play Console.
Step 6: Save the Tester List
After adding the testers, save your changes and select the tester list for your closed testing track.
Make sure the correct list is selected before continuing.
Method 2: Add Testers Using a Google Group
Google Play also supports managing closed-test access through Google Groups.
This can be useful when you have a larger or recurring testing community.
Instead of maintaining every tester individually inside Play Console, you can use a Google Group and manage its members through the group.
Step 1: Create or Use a Google Group
Create a Google Group or use an existing group that contains the people who will participate in your test.
The group has an email address similar to:
Step 2: Open Your Closed Testing Track
In Google Play Console, go to:
Test and release → Testing → Closed testing
Open the relevant testing track and select the Testers tab.
Step 3: Select Google Groups
Under the tester access method, select Google Groups.
Enter the email address of the Google Group.
Members of the specified Google Group can then access the closed test through the group.
Step 4: Save the Changes
Save your tester configuration.
Your Google Group is now associated with the closed testing track.
How Do Testers Join the Closed Test?
Adding a tester to your list is only part of the process.
The tester also needs to complete the opt-in process.
After your test is published, Google Play provides a shareable testing or opt-in link.
You can send this link to your testers.
A tester can then:
- Open the testing link.
- Sign in with the correct Google Account.
- Follow the instructions to join the test.
- Opt in to the closed testing program.
- Open the Google Play listing.
- Install the testing version of the app.
For a closed test using a Google Group, the user may need to join the relevant group before accessing the test.
Why Is the Opt-In Step Important?
Simply adding someone's email address to a tester list does not mean that the person has completed the testing process.
The tester needs to successfully opt in to the closed test.
This is particularly important when you are working toward Google's testing requirements.
For applicable new personal developer accounts, at least 12 testers must be continuously opted in for the preceding 14 days when you apply for production access.
Therefore, developers should make sure their testers understand how to join the test correctly.
What If a Tester Cannot Access the App?
Sometimes a tester may report that they cannot find the app or cannot install the testing version.
Here are some things to check.
Check 1: Is the Test Published?
Make sure the closed testing release has been properly published and is available to testers.
A draft or pending publication state can prevent testers from accessing the expected testing experience.
Check 2: Is the Tester Using the Correct Google Account?
The tester should use the Google Account that has been added to the tester list or is a member of the relevant Google Group.
If they are signed into another account, they may not receive access.
Check 3: Did the Tester Opt In?
Adding an email address does not replace the opt-in step.
Ask the tester to open the testing link and complete the opt-in process.
Check 4: Is the Tester a Member of the Google Group?
If you are using a Google Group, make sure the tester has joined the group and has the necessary access before attempting to join the test.
Check 5: Is the App Available on the Tester's Device?
The tester should use a supported Android device and a Google Account that can access Google Play.
Why Should You Keep More Than 12 Testers?
If your account is subject to Google's 12-tester requirement, having exactly 12 people can leave little room for unexpected changes.
For example, a tester may stop participating or no longer remain opted in.
Having a slightly larger testing group can provide additional flexibility.
However, the goal should not simply be to collect a large number of email addresses.
The goal of closed testing is to involve real testers, gather useful feedback, identify problems, and improve the app.
How Should You Communicate With Your Testers?
Clear communication can make the testing process much easier.
Before sending the testing link, explain:
- What the app does
- How to join the test
- Which Google Account to use
- Where to find the app
- What features they should test
- How to report bugs
- How to provide feedback
You can also provide a simple testing checklist.
For example:
- Install the app.
- Complete the onboarding.
- Test the main features.
- Try different screens.
- Test important buttons and forms.
- Look for crashes or unexpected behavior.
- Report problems.
- Provide suggestions about the user experience.
This makes the testing process much more useful than simply asking someone to install the app.
What Happens During the 14-Day Testing Period?
For applicable new personal developer accounts, Google requires at least 12 testers to remain continuously opted in for 14 days before production access can be requested.
During this period, developers should use the opportunity to improve the app.
Review tester feedback, investigate bugs, test important features, and make appropriate improvements.
Do not treat the 14 days as simply a waiting period.
The quality of the testing process matters when preparing your app for production.
Common Tester Setup Mistakes
Here are some common mistakes developers should avoid.
1. Adding the Wrong Google Account
Make sure the tester's correct Google Account is included in the tester list.
2. Forgetting the Opt-In Step
Testers need to complete the opt-in process before accessing the closed test.
3. Sharing the Wrong Link
Make sure you send the correct closed testing or opt-in link to your testers.
4. Not Checking Group Membership
If you use Google Groups, confirm that testers are members of the group and can access it.
5. Starting With Too Little Margin
If you need 12 testers, consider having additional participants available in case someone leaves.
6. Not Providing Testing Instructions
Testers are more likely to provide useful feedback when they know what to test.
7. Ignoring Feedback
The purpose of testing is to learn from real users and improve the app.
Final Checklist
Before starting your Google Play closed test, make sure you have completed the following:
✓ Closed testing track created
✓ Test release prepared
✓ Tester list created
✓ Correct Google Accounts added
✓ Google Group configured, if applicable
✓ Testing link available
✓ Testers successfully opted in
✓ Testers received testing instructions
✓ Feedback channel provided
✓ Important app features ready for testing
✓ Tester participation monitored throughout the test
Need Help Finding and Coordinating Testers?
Finding and coordinating a reliable group of testers can be difficult, especially for independent Android developers.
12 Testers Community helps developers organize their Google Play closed testing process by coordinating testers and providing testing support.
Our goal is to make the tester coordination process easier while helping developers collect useful feedback and manage their testing workflow.
Get Started
If you are preparing an Android app for Google Play closed testing and need help organizing your testers, visit:
12 Testers Community
https://12testerscommunity.com/
Final Thoughts
Adding testers correctly is an important part of running a successful Google Play closed test.
Google Play supports both email lists and Google Groups for managing closed-test participants. After adding testers, make sure they complete the appropriate opt-in process and can access the testing version of your app.
For applicable new personal developer accounts, remember that at least 12 testers must be continuously opted in for 14 days before you can apply for production access.
Most importantly, use the testing period to learn from real users, identify problems, improve your app, and prepare it for production.
Always check Google's official Play Console documentation for the latest testing requirements because Google Play policies and procedures can change over time.
Related Articles
Google Play Closed Testing: Complete Guide for New Developers
Why Google Play Closed Testing Fails: Common Mistakes to Avoid